Days 38 & 39 of #100dayproject

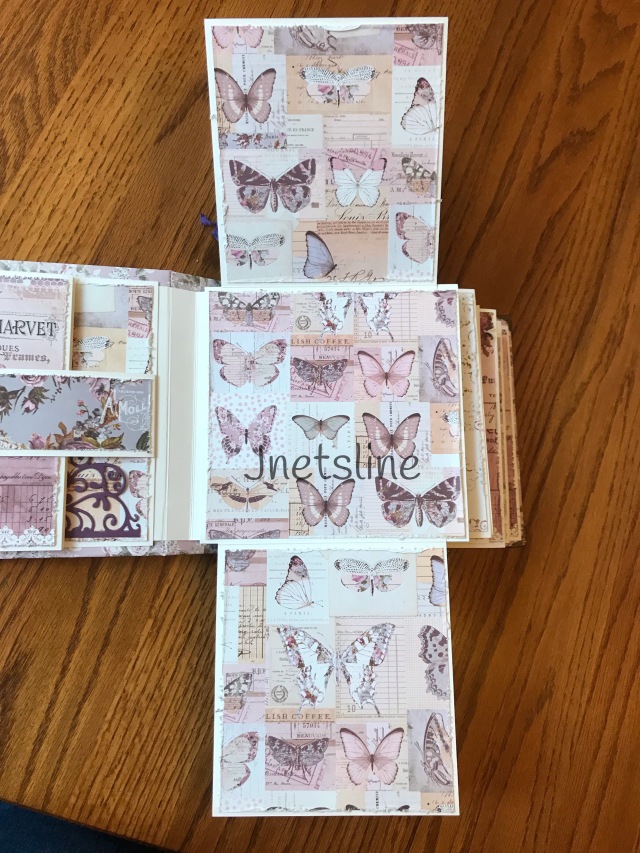
As I said in my last post, I am dog sitting for a dear friend.  She is another crafter friend and has a craft room with just about everything you could imagine in it (aaahhh – Heaven!).  I have spent the last two days on a “one page wonder” project.  If you don’t know what that is, you strategically cut apart a piece of patterned paper (in my case a 12″ x 12″ piece) to get the most out of it.  You can find cutting patterns all over Pinterest – just search “one page wonder”, or you can cut it your own way.

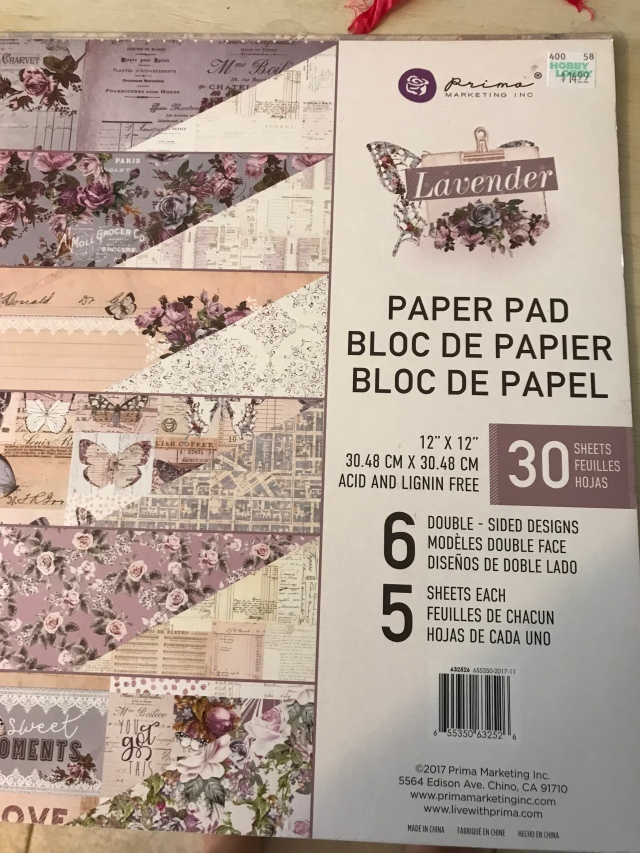
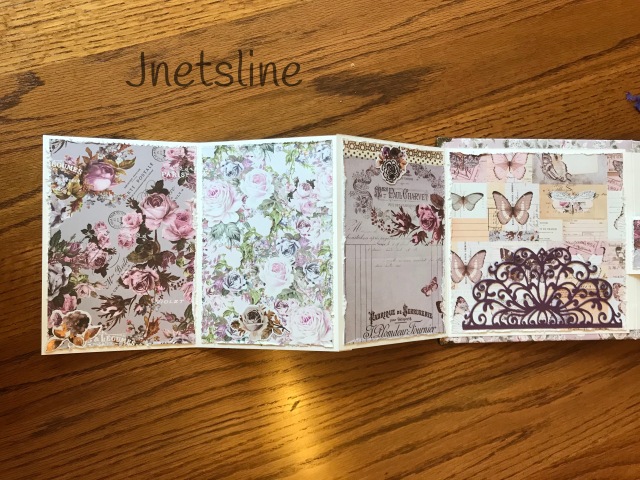
I was able to get 16 cards – yes, I said 16 cards out of one sheet of Stampin Up’s “Botanical Butterflies”.  It is a beautiful paper pack and the page I chose is my favorite.   I did punch butterflies from a different sheet for my embellishments.  I am not sure if that is cheating (to use extra) but I think the goal is to get as much as you can out of one piece.

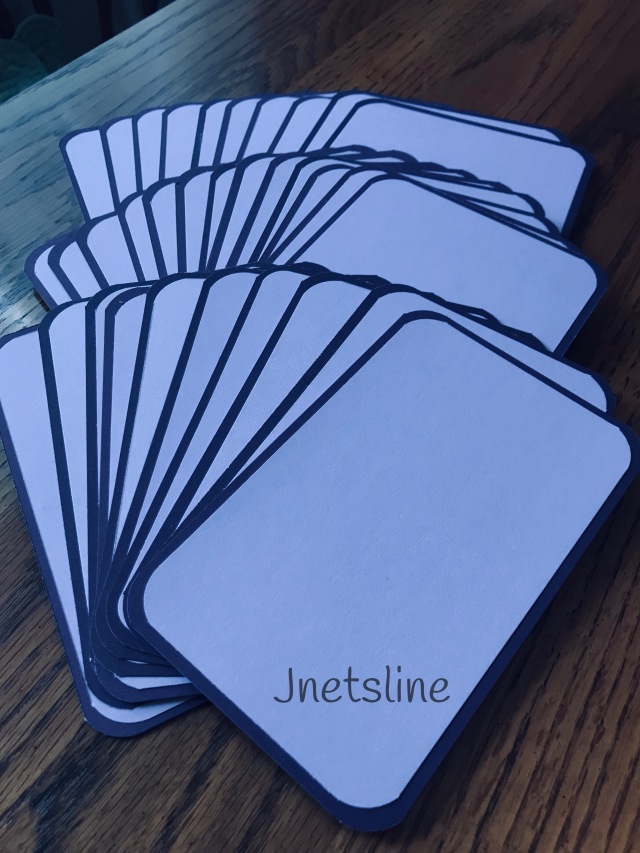
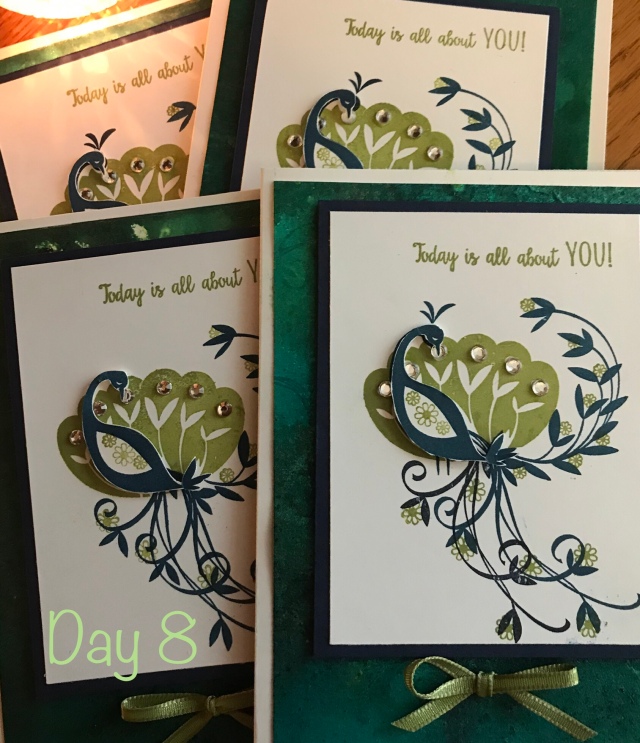
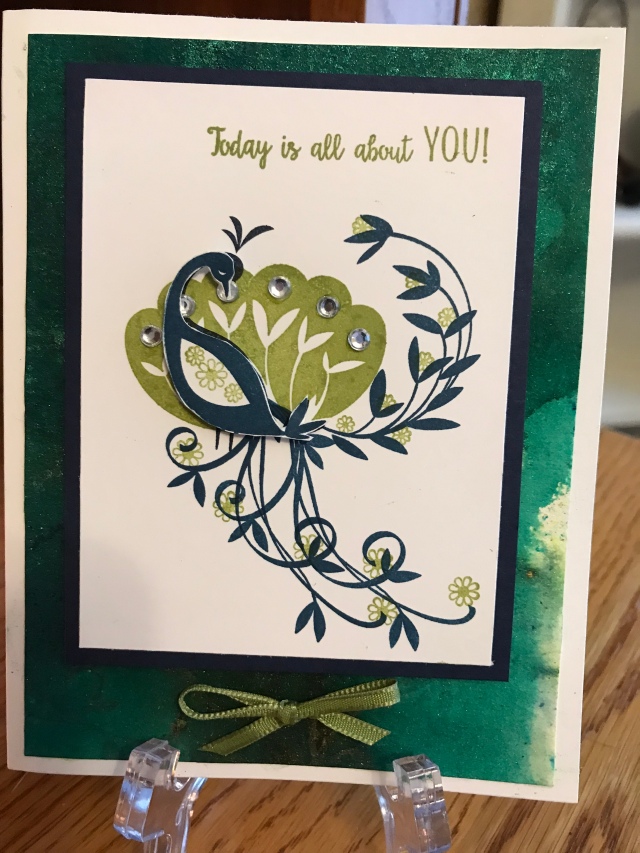
And here are close-ups of each card:

You need to offset the negative space on some cards. On some above, I did some random stamping in the background. On these cards I used embossing folders for the background:

final-105

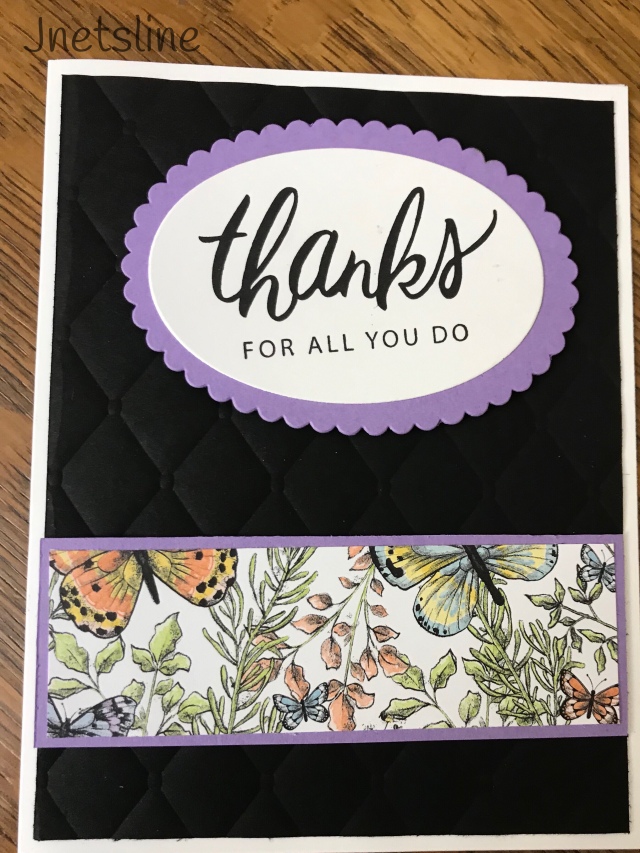
This card is one of my favorites – and it was actually an “extra”.  I didn’t like the size of one of my pieces when I was designing one of the above cards so I cut a strip off of the side and therefore had this piece leftover.  I knew the backgroud had to be impressive to offset such a small strip of paper so I randomly stamped butterflies on the black layer with VersaMark and heat embossed with white embossing powder.  I also heat embossed the sentiment.  Its really very pretty in person.

And I had this leftover – a 3″ piece only 3/8″ wide! I wouldn’t have had that left over but I decided to cut a rectangle into 3 strips for 3 long rectangle panels (the 6th card from the top), and to make the rectangles fit the width of the card, I had this lone little piece leftover.

I don’t care about using current product for my pieces.  I keep what I like and I use what I like, new or old.   Part of my goal with the #100dayproject is to “use what I have” and in this case, I helped my crafty friend get rid of some of her old discontinued product.

All of the products I used may not still be available but these cards are so universal, you can substitute any greetings or embossing folders or even coordinating colors (or any patterned paper for that matter).  I used some old discontinued Stampin Up ribbons in discontinued colors that coordinated perfectly with this patterned paper even though they were not listed as coordinating colors on the package.  So you can use the new current colors for 2019 or use up some old stuff.

I hope you enjoyed my cards and that I inspired you to try your own “one sheet wonder”.  If I did, I would love to see what you create.  If you liked my project, give me a like or share this with a friend who might like it.  Please let me know if you have any questions about products or procedures I used today.  Thanks for spending some time with me today and I hope to see you again soon.  If you haven’t already done so, follow me on WordPress or sign up for email notification.

Til next time, happy crafting,

Jeanette

Days 34, 35, 36 and 37 of#100dayproject

I’m sorry, I am behind in my postings.  I promise I have been working, just haven’t gotten a chance to post.  I am currently sitting for a very special friend who has 3 dogs and 2 cats for me to care for – one of which is a 1 month old abandoned puppy.  She is the sweetest thing and still has a bottle most of the time (she gets a couple meals of cereal and mashed up puppy food).  Check out my post on Instagram for some cute photos.

Back to crafting, before I left home I spent four days working on a 7″ x 7″ interactive album.  It’s still not finished, I need to decorate the front, decide on a closure and add some more tuck spots.  This is the paper I used:

I looooooooove this paper!  In case you didn’t know, I am a purple girl all the way.  I have had this pad for a while and I don’t think it is available any longer.  However, you can still get Prima’s “Lavender Frost” which is also gorgeous.  I also had a daily planner kit I got on Blitsy with embellishments that coordinated so I used a few pieces from that.  I used 110 lb white card stock I purchased at Michaels.  I am very new to mini albums as this is only my second one.  In hindsight, I should have used 110 lb for the base page and then 65 lb for all the flips and fold outs etc.  It ended up a bit bulky with all 110 lb but it is still great.

Here is what I have so far:

final(126)

I had a role of embossed wallpaper border that I used to cover the spine – it was the perfect width.  All I had to do was paint it to match, then I rubbed some antique gold (that I just noticed does not show at all in my photo??!??!) over the embossing to coordinate with the corner covers and embellishments I plan to use on the front.  Here is a closeup of the spine:

final(125)

The album has four pages and many many flaps and fold outs on every page including the inside front and back covers.  Here are a few of the pages (I’ll post everything when it is done):

final(124)final(123)final(122)

All of the foldouts and flaps have hidden magnet closures.  I distressed all of the edges of the patterned paper for an aged look.  This album can hold a total of 65 photos.  I also made 33 photo mats for various sized photos that can be used – or photos can be attached directly to the pages. (I’m sorry the coloring is way off in this photo – I took all of these pictures at the same time, I don’t know why this one came out with this tone?  I retook it 4 times and it kept doing it.  The colors are a soft lavender that matches the paper perfectly and the border is the same as the wallpaper spine). I think I am going to have to start using a real camera instead of my phone,

final(121)

Again, I’ll post the final result when I get to finish it.  I have dogsitting assignments for the next three weeks so I won’t be home for a while to work on it.  It will be available in my Etsy store when it is completed.

Thank you so much for spending a few moments with me today.  Let me know what you think of my project so far.  Don’t forget to give me a like if you like it, and share with your friends if you know someone else who would enjoy.

Til next time, happy crafting,

Jeanette

Day 19 of #100dayproject

I spent most of the day working on a project that is not complete yet so I decided to do a quick and easy card so I could have something to post for you today.

I cut a panel of Night of Navy card stock and did some simple stamping on it with Night of Navy ink.  I twisted and turned the stamp for each print so I filled the panel with some hibiscus flowers to give the panel an all over design much like wallpaper.  Then I die cut a strip for the top and the lovely script Happy Birthday out of diamond glitter paper and just glued them on my panel.  I added pearls to the center of the flowers and attached the panel to a standard A2 card base in whisper white with dimensionals.  I also did a bit of the stamping on the card interior as well as the envelope.  This is a very simple card that anyone can do with a variety of die cuts and stamps.

And here is a sneak peak at my bigger project that took up most of my day.  I actually started this when I was cat sitting for my friend Fern so actually, I have spent two days working on it so far.  Does that mean I get to give myself credit for 2 days of projects for the #100dayproject?  It is going to be a framed 12 x 12 piece for a certain upcoming holiday ……. can you guess what?  I spent the day coloring and fussy cutting a lot of little bits and pieces – these are just a few.  I am going to layer the rose pieces for a dimensional image.

I hope you liked my quick and easy card today and that I inspired you to create your own.  If you do, please share your results – I would love to see your take on this card.  I also hope I teased you with my other project – final results will be posted soon.  Thank you so much for spending some of your precious time with me today and I hope you come back soon.  I would appreciate any comments or questions you may have – also a like and share would make me happy.

Til next time, happy crafting …….

Jeanette

Day 8 of #100dayproject

Todays’ project was a set of greeting cards perfect for birthdays or any special day really.

img_1743

I had so much fun playing with the Lindy’s Stamp Gang Magicals yesterday that I had to play with them again today!  You can see some of the mica sparkle around the top of the close up below.  Again, I used watercolor paper but today, I stamped first with VersaMark  to obtain a resist affect.  It didn’t come out as good as I had hoped, I don’t know if my pad is a bit dry or if the Magicals penetrated the paper too much.  I think next time I’ll heat emboss with clear powder so it will show up more.  I still like how the background came out – just not exactly what I was looking for.  I then used Stampin Up’s Beautiful Peacock stamp set to create my top layer.  I used Old Olive and Night of Navy inks.  I cut the stamped image to 3 x 4″ and backed it on a piece of Night of Navy cut to 3 1/4 x 4 1/4″.  I added dimensionals behind the night of navy layer and put them on the Magicals layer.  I stamped the body of the peacock an extra time for each card so I could fussy cut them and add them on top with dimensionals.  I added some bling to the tail feathers and finished it off with an Old Olive bow.

I hope you enjoyed my project today.  Please comment below to let me know what you think. Are you participating in the #100dayproject?  Comment below and let me know what you are doing whether it is part of the project or not – pop in a link for your post – I would love to see what you are up to. Please feel free to ask me anything about products or procedures I used – I would be happy to provide whatever information I can.  Thank you for stopping by today and I hope to see you here again soon.  If you have time, I would appreciate if you could like, comment or share my post with a friend.

Till next time, happy crafting,

Jeanette